In order to use the Android phone normally, you need a Google account, which is equivalent to the mail registered on gmail.com. In this case, the smartphone should automatically sync with your gmail account. Due to this, in case of loss of the phone or its damage, you will at least not lose your contacts (address book on the smartphone). Now we will explain how to synchronize contacts between a smartphone based on Android OS and Google mailbox. You may already have synchronization set up, so you just check the settings.
Step 1. Go to the menu "Settings\u003e Accounts and sync".
Step 2. Add an account (if it has not been added before).
Step 3. We agree with the item "Create backup data of this device in my Google account. "After that, synchronization should begin.
Step. 4. We look whether the items "Background" and "Auto-sync" are turned on.
Step 5. To check, go to the account on the phone ("Settings\u003e Accounts and sync"). Checkmarks should be on the items "Calendar", "Contacts", "Startup" and "Gmail".
After some time, you can go to your Gmail and select "Contacts". All your phones from the address book will already appear there.
What do you learn to do by watching this video?
You will learn how to create a list and groups of contacts; how to change and supplement contact cards; How to move contact databases from Gmail and Gmail.
Video Description:
To open the contacts menu in Gmail, you need to click the inscription "Contacts" in the left column. The very first button at the top of the window allows you to add new contact to the database and information about it. You can enter a name. Position, name of place of work, email address. If a person has several email addresses, you can click the "Add" button and the lines for additional addresses will appear. In addition, you can enter a phone number, mailing address, website address. In these sections, there is also a “Add” button. If any contact information is out of date, you can delete it. To do this, click "Delete" opposite the unnecessary information. In this section, you can write a note on a particular contact. After filling in all the fields, click "Save".
All contacts from the database can be sorted into groups ("Friends", "Family", "Colleagues"). To view the contact list of a specific group, click on the group name. A list of contacts for that group appears next to the list of groups. To see all the contacts of all groups, click "All contacts" in the left part of the window. To select a contact, put a check next to it. In this case, information about the selected person will appear to the right of the contact list. For example, the mailing address. There is a Chat button below the address bar. What is it, we considered earlier. Below “Chat”, there is a button that shows the reflection mode of this person in the “Chat” window. Below is a button that allows you to view last messages from this person. To the right is a button to insert an image for this contact.
If you need to add contact information or change something, just click "Change" at the top of the window. A window familiar to us with information about a person will open.
Create a group and move contacts to it
To move a user to a group, select the contact and click "Groups" (next to the "Change" button). In the drop-down menu, click on the desired group. If you want to add new groups to the list, click “New Group” in this menu. Enter the name of the group and click OK.
To create a group in another way, click the second button “New Group” on the left (it shows two portraits with a plus). A window will appear where we enter the name of the group and click "OK."
How to find a contact in the database?
To do this, just enter any combination of letters from the name of the contact in the field with a magnifying glass. The system will automatically display contacts with this combination of characters.
To separate important contacts from episodic ones, just select the necessary contacts and click the "Move to my contacts" button.
Import contacts in Gmail
On the right side of the contacts window there is an “Import” button. When you click on it, a menu opens for transferring contacts from other systems to Gmail. In particular, you can transfer contacts from Outlook, Outlook Express, Yahoo! Mail, Hotmail and others in CSV format. In addition, you can transfer the contact list from the Apple address book in vCard format.
To import contacts, click the "Select File" button, select the file, click "OK." To move such contacts to a specific group, put a checkmark just below the “Select File” button and select the desired group from the drop-down list in the same line. Click “Import” even lower. Done.
Move contacts from Gmail
You can move contacts from Gmail to Google, Outlook, Apple and other applications. To do this, click "Export" in the upper right corner of the contact window. Then select the group or all addresses to move, select the file format for movement and click "Export" at the bottom of the page.
If you want to print a list of your contacts from the database, click the "Printer" button in the upper right corner. Then put the dots in front of the options and click "Print" at the bottom of the page.
Well, and remember gmail mail like a good sliding wardrobe, in which everything fits well and lies on its shelves, by the way, if you decide to buy a sliding wardrobe, you can always do this in the Mwood online furniture store.
Many users of Google accounts and services who simultaneously own an Apple device are concerned about the following: Is it possible to synchronize Gmail contacts with iPhone, iPad or iPod touch? In this short article we will give you detailed instructions to set up synchronization of contacts between your iPhone (or another Apple device) and Gmail (contacts in your Google account).
To begin with, there are 2 ways to sync your iPhone’s contacts with Google Contacts . Let's consider them separately.
Method number 1: Sync using "features" in iOS
Perhaps this method is also available for earlier versions of firmware, but the author of this post tested the functionality only on iOS 7. So, if you are still “sitting” on iOS 6 or another version of the firmware, you should still try this synchronization method contacts. The pluses are that it is very lightweight and can be configured in just a couple of steps. Cons as such were not found.
To enable synchronization of contacts you just need to go to "Settings" -\u003e "Mail, addresses, calendars":

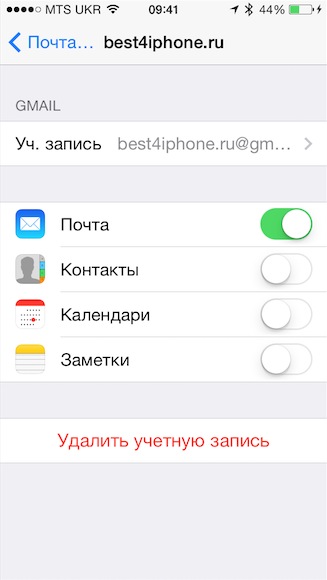
Here, as you understand, you just need to enable contact synchronization by clicking on the switch (it should light up in green).
Method number 2: The official method from Google through the open Internet protocol CardDav
This method will work 100%. If you could not synchronize your contacts according to the instructions above, then this method is for you. Below is the official text from Google Help.
- Open the application on the device Settings.
- Click Mail, addresses, calendars.
- Click Add account .
- Select Google.
- Fill in the following fields:
- Name. Enter your name.
- Username. Enter address email your Google account or Google Apps.
- Password. Enter your password to log in to your Google or Google Apps account. If you enable 2-step verification, you will need to generate and enter a separate application password.
- Description. Enter a suitable account name, such as "Personal Contacts."
- Further.
- Make sure that the "Contacts" line is selected On. The switch should be green.
- At the top of the screen, tap Save.
After setting, open the application Contacts on your device. Synchronization will start automatically.
It's all. As you can see, there is nothing complicated in the settings. I recommend that you use the first method, since you do not have to create another separate account specifically for synchronizing contacts, but you can simply enable this function in the settings menu of your Gmail email account.
The second way is suitable for owners of a Google account for business, education or government agencies. Users with regular accounts will have to use the first method. Using the new CardDAV protocol, syncing iPhone contacts with Google has become very easy. In this article, we will describe in detail how to do this.
Method number 1. Import contacts from Google to iPhone using CardDAV
1. Open the settings.
Click the “Settings” icon, which is usually located on the first screen.
2. Click on "Mail, addresses, calendars." 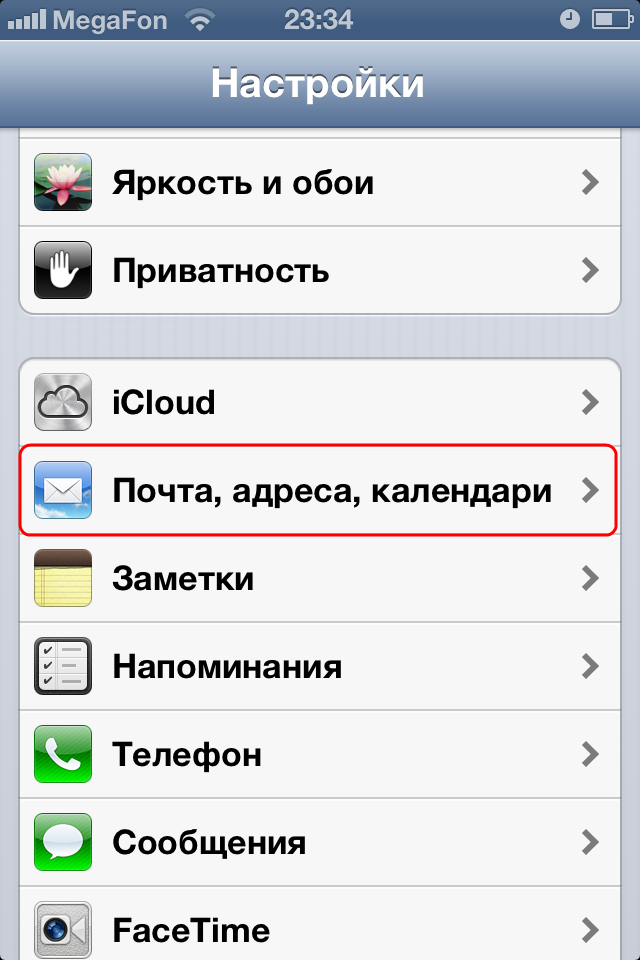
In the settings control panel, scroll down, find “Mail, addresses, calendars” and click to open the control panel.
3. Click on "Mail, contacts, calendars", then "Add."
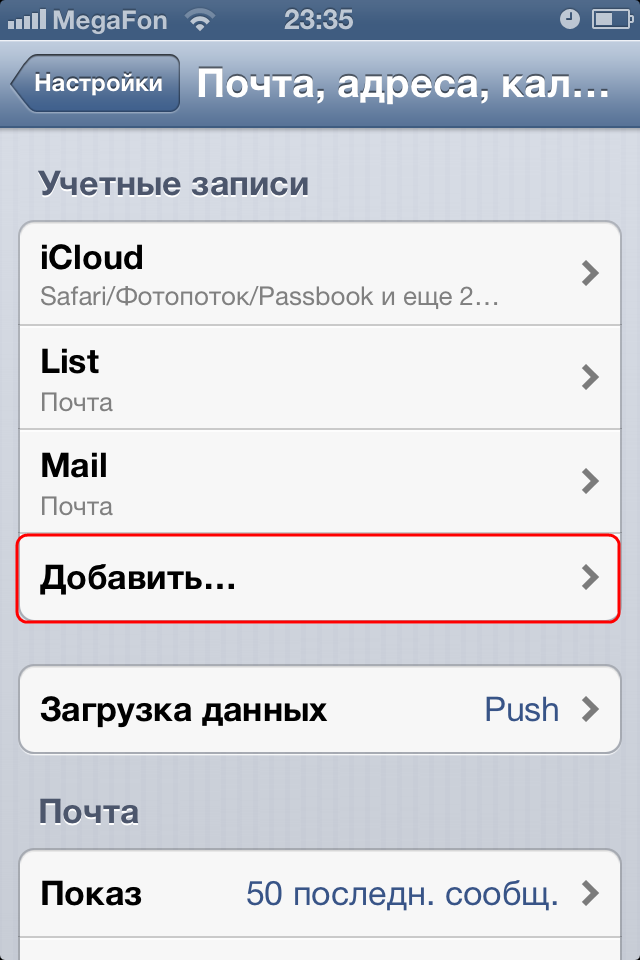
You will see a list of account types that you can add. Scroll to the end of the list and click "Other".
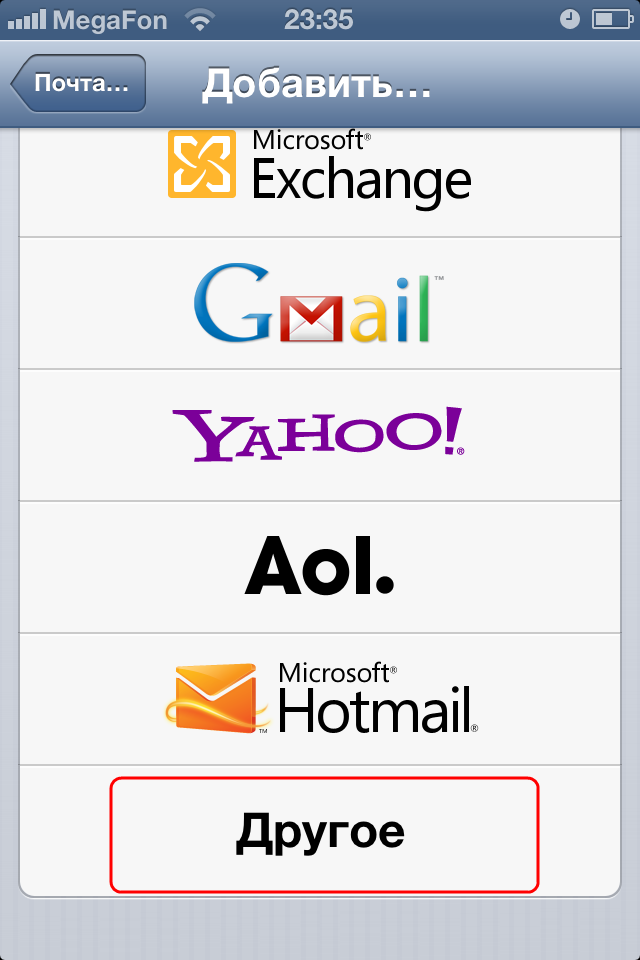
4. Click Add CardDAV Account.
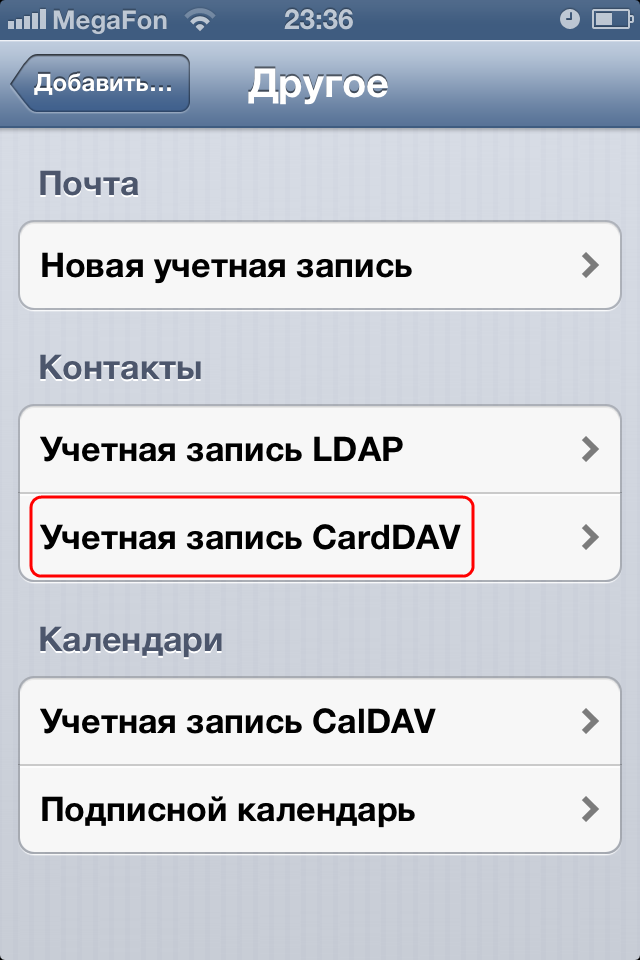
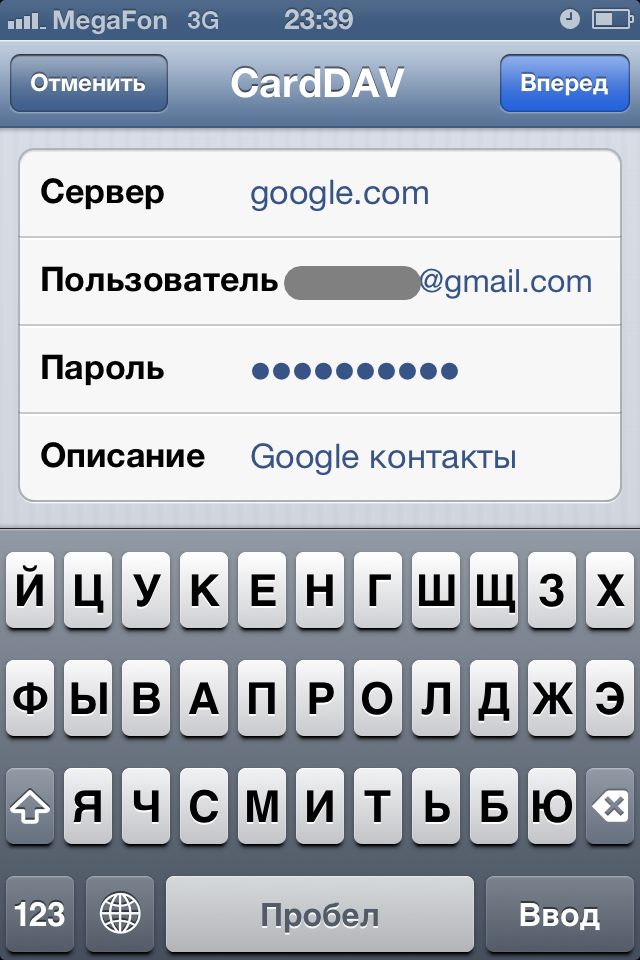
In the Other control panel, click Add CardDAV Account to open the panel. Fill in the fields that appear with the following information:
- Server: "google.com";
- Username: your full email from your Google account or Google services;
- Password: your password for Gmail or Google services. Note that if you enable two-step authentication, you will need to create and enter a password for a specific application;
- Description: enter a description for the new account. For example, "Gmail contacts" /
5. Click Forward.
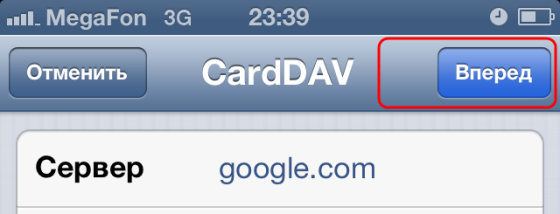
The button is located in the upper right corner of the CardDAV control panel. This way you confirm the information. The next time you open contacts, synchronization will start automatically.
Warnings:
CardDAV sync is only available for SSL iOS 5 or later.
Method number 2. Contacts from gmail to iphone using GoogleSync with iOS 6
Note: This method sync only suitable for google accounts for business, education and government agencies.
1. Open the "Settings".
Click the “Settings” icon, which is usually located on the home screen.
2. Add an account.
In the settings control panel, scroll down and find “Mail, Contacts, Calendars”, open the control panel, then click “Add Account”.
3. Select Microsoft Exchange.
From the list of accounts that can be added, select "MicrosoftExchange" located in the upper corner of the screen.
4. Enter your account information.
- Email: your full email address from your Google account;
- Password: your Gmail password;
- Description: come up with the name "Gmail contacts";
- Click "Next." The button is located in the upper right corner of the Exchange Control Panel.
5. In the second window, enter the following information:
- Server: "m.google.com";
- Domain: leave blank;
- Username: your Gmail address;
- Password: your password for your Gmail account;
- Click "Save" in the upper right corner of the screen.
Turn on “Mail” at the top of the next screen, make sure that “on” is selected.
Tip:
If you encounter problems with synchronization, log in to Gmail. you may need to confirm entry from an unusual place.


