All services provided by Google for its users are available in one account. You need to register with Google, and you will get access to all services. Use our step-by-step instructions.
We start the registration process in Google
You need to go to the main page of the search engine. In dial:
First enter your company information
You can change this budget amount later, so now you do not need to worry about it. You can set the whole world, a specific country, region or only a specified area according to the distance from the point by circular targeting. Or fill out the landing page and enter any letter in other fields so that the ad can be saved. Fill in your tax and corporate details such as company name, address, primary contact for any billing problems. Fees will be automatically charged after the balance reaches a certain amount or 30 days after the last payment. We recommend this payment, since it does not work out that your credit will be in your account if you do not notice it within a few days.
- Selected email address.
- If you need another currency, be sure to edit it at this step.
- Select the geographical areas in which your ad will appear.
- You can also exclude irrelevant areas.
- Just set your network to “Search Network”, it will be dedicated.
- Please enter at least one keyword.
- You can try to write plain text.
- Select the country where your billing address is located.
- Select payment settings: Automatic payments.
- You pay for ads up based on how much you clicked.
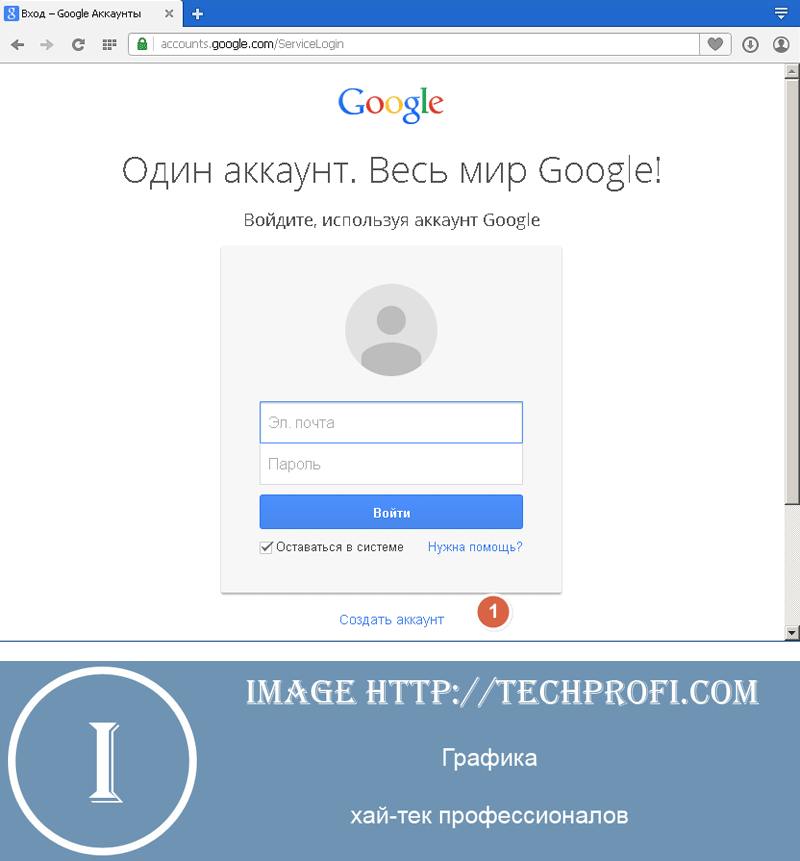
Http://google.com
In the upper right corner you will see the "Login" button - click it.
Fill in personal data
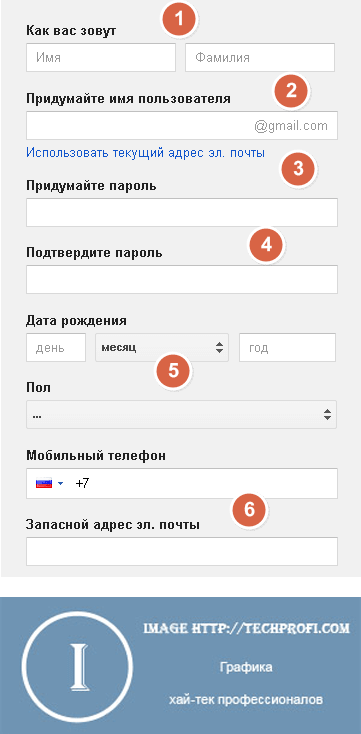
Now we have to fill in all the fields of the registration form.
- What is your name: here indicate your real name and surname
- Create a username: this will be your login on the system. You will use it for authorization
- Create and Confirm Password: create and enter a complex password
- Date of birth: indicate day month and year
- Gender: enter your gender
- Mobile phone: write your mobile number through +7. It will be used to restore access to your account.
- Spare email address mail: if you already have mailbox, on any service, you can specify its address. It will also be used to restore access.
Choose manual payments and leave your account empty. If you have an account in the List, you can use the data to enter this account or create a registration for any email. But did you know that all the tips and advice for your account are erased and super? A possible obstacle may be knowledge of English.
If you have not used any of the above services, you need to create a completely new account. In the upper right corner of the page you will see “Create an account” in the red box. After you click, you will be taken to the page of the table where you fill in the information necessary to create a new account. After you have completed and canceled the Terms, you are almost done.
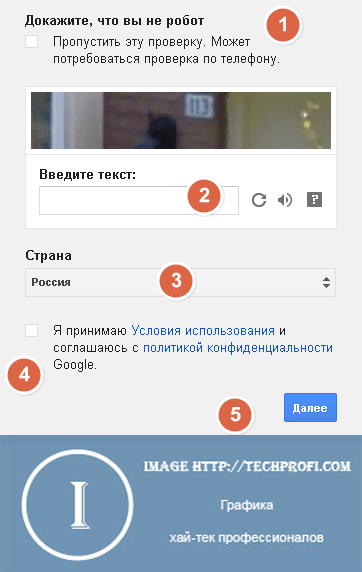
When you finish entering personal information for registration, you will need to pass an anti-spam check. Enter the code that Google offers.
It remains only to indicate the country of residence and accept the terms of use. To do this, check the corresponding item.
When the form is completely filled out, click the "Next" button.
Step Two - Settings for your page
This will return to the first time that you may be asked to provide additional informationsuch as date of birth and gender. Do not forget to upload a good profile photo, that's all! This button will take you to an index where you choose which profile best suits your company. This preference then simplifies profile editing.
Select a page name. It’s best to use only the company name. If your brand name is too long, and if you and your customers use abbreviations, just use them. Definitely do not name current discounts, Christmas wishes, etc.
Profile Editing
In the next step, you can add a photo to your account page. To do this, click the "Add photo" button. When done, go to the last step of registration - to do this, click the "Next" button.
On the next page, you will be asked to customize your profile photo and introductory photo. These photos will be displayed in the header of your profile and will be the first to let people make contact. Be sure to choose your business logo for your profile photo, but choose an introductory photo thoughtfully and in connection with your business.
Step Four - Profile Ornament
But it is insidious that the first 10 points on the left and the last 40 points cannot be seen! At first, it is recommended that you briefly and comprehensively describe what your business is doing so that every visitor to your site is immediately informed. Also add websites that will find you. Also add attractive photos to get visitors right at the beginning of what to watch.
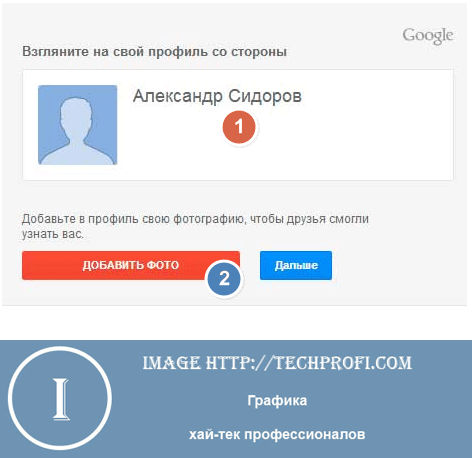
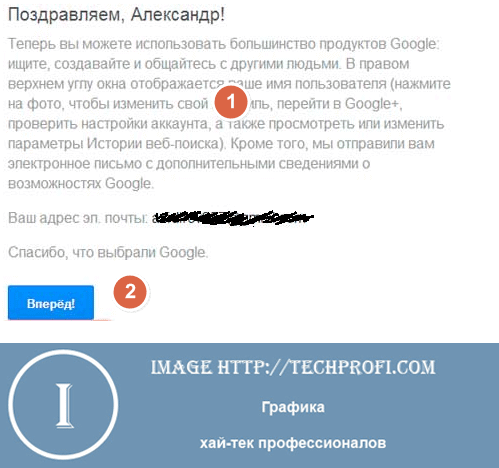
Google will inform you that the registration is completed, and you can start using your account. To complete, click the Forward button.
Many people are internet users. Moreover, the most visited resources are search engines. In this regard, let's look at how to create an account on Google, as well as what opportunities it has.
Once you decide to edit an existing account or create a completely new one, the definition step will be either administrative or regular. An administrator account allows you to make changes that also affect other users. For example, you can configure system settings, install software or access all the data. An administrator account is one of the privileges, so give it to a person wisely.
The current account does not allow you to make changes that affect other users, a more powerful administrator account. If there is a need to increase the rights, the administrator must take this action directly. To assign a regular user account to default users, refer to it as a standard, select the previously presented administrator account as an additional standard only for the selected user group.
One of the best
This is not just about a search engine, but about a whole range of useful solutions, which has a number of significant advantages.
As soon as registration is completed, your Google account will offer you the speed and power of the search engine (the latter is located on home page official website of the company).
Less than one second needs to be spent to see the list of sites interesting you. But this is not all, because the corporation offers its visitors a huge world of various services. An important aspect of the company’s work is reliability.
If you want to upload a new user to the system, you must assign him a new unique user account. As a result, its data will be separated from files of other users, and other permissions and types of accounts can also be selected. To start a new account, proceed as follows.
Follow the link “Create a new account”, then in the new dialog box, fill in the field “New account name” and select “Type”. Click the Create Account button to create a new user account. When you create a new user account, it cannot be assigned by default to protect it.
Sign up for Google: account and its features
The search giant owns a huge number of services. After we take a detailed look at how to create an account on Google, it will tell you how to access each application, and all this on one site. From now on, you can have a personal author’s channel on video hosting, your own blog, photo album and much more. Join the fans of the company, and communication with the computer will be much more effective.
Manage user accounts in the control panel
If you want to assign an account to a user who does not have a user directly on the computer or in the domain, you can use the special guest account “Guest” to a certain extent. This is a very limited account that allows any user to use a computer, but does not provide access to personal data. Similarly, users accessing a guest account cannot install software, hardware, or change system settings or password.
How to create a Google account: registration process
Becoming one of the service participants is quite simple. To create an account, go to the official website of the company. Next, we find the button “Create an account”. It is at the top of the page to the left. When registering a new account, you will be asked to enter your mobile phone number in a special line.
Change your guest account in the control panel
On the other hand, with the guest system turned on, the overall security of your computer decreases, since everyone can enter it. Thus, the inclusion of your guest account can be a security risk, as it allows you to register for almost everyone. To turn it off or on, proceed as follows.
What are local and domain name accounts?
If it is currently turned off, press the On button. To activate it, when it is turned on, the Disabled button will be displayed.
- Follow adding or removing accounts in the control panel.
- Click the guest account in the control panel.

Some users do not want to disclose this information.
Now we’ll show you how to create a Google account without specifying personal contacts. You can create a one-time number that is needed only during the registration process. On the Internet, there are many services that offer to get a similar virtual phone. The next step is the sequential filling in of all the fields of the questionnaire.
These are called local user accounts, when managing large networks makes it difficult to manage and configure all permissions. In large computer networks, instead of local user accounts, they often choose to enter the so-called domain, where there is one central server through which the main authentication process passes. The advantage of this solution is a centralized centralized management that allows users to register on separate computers without creating local user accounts.
The condition for registration is to provide only reliable and maximally complete information about yourself. However, exactly how much information you want to open is up to you. Let's go in order. Enter the first name, last name. and enough Indicate the date of birth.
An important point: linking your account to a real phone number will allow you to quickly restore access to your account in the event of a password loss. Next, we are waiting for the introduction of captcha. It is driven during every large-scale action on the Internet, because this solution protects sites from spam and excessive server load.
A route description for your business, hours of operation or a phone number that you can click and call for free. All this allows you to often forget about the services that often bring a lot of new customers. Do you use it fully and control it at the same time?
You can easily tell your users where your business or branch is located, and whether you are open or closed at that time. When searching on mobile phone the user can dial your number with one click or directly turn on the phone to go to the nearest branch. This extension helps, among other things, measure your ad and leads to an increase in the number of clicks.
There are many types of such protection. In this case, you will come across distorted letters.

Sometimes there are objects that turn in all directions. So, we write without errors what we see in the picture.
We enter information on the place of residence, put a mark on the agreement with the terms of the system. Click the "Next" button, and then complete the creation of the account. If you wish, you can add your own photos, which will act as a kind of business card.
How to add your business to the free list? In most cases, just enter your company name in search engine. If the listing of the company is displayed on the right side of your search, but does not come from your actions, we recommend that you request access to obtain relevant information.
We start the registration process in Google
If you are setting up a new account or requesting access to an existing one, the following procedure is always the same. You can see the map of the Czech Republic and the search box in the upper left corner. Enter the name of your company and find it using the blue magnifier button. If none of the parameters matches, you use the option "This parameter does not match" and manually fills in all the necessary information.


