Odnoklassniki.ru is a social network, which means that it was created primarily for communication between people on the World Wide Web. Actually, other similar sites were created just for this. However, time passed and it became more and more clear that it’s just not possible to keep users on the site with just one communication, so all kinds of services began to appear, including, for example, audio hosting with the ability to listen to your favorite songs, or a section with videos.
Another interesting service is the presence of groups, which are such sites within the site ( social network), dedicated to a particular topic and located directly on Odnoklassniki. For example, if you like, say, Viktor Tsoi’s songs, then you can create a fan community for this great singer. But just how to make your own group from scratch and completely free in Odnoklassniki? Believe me, there’s nothing complicated here.
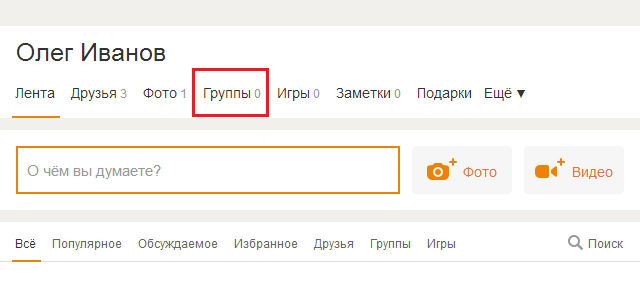
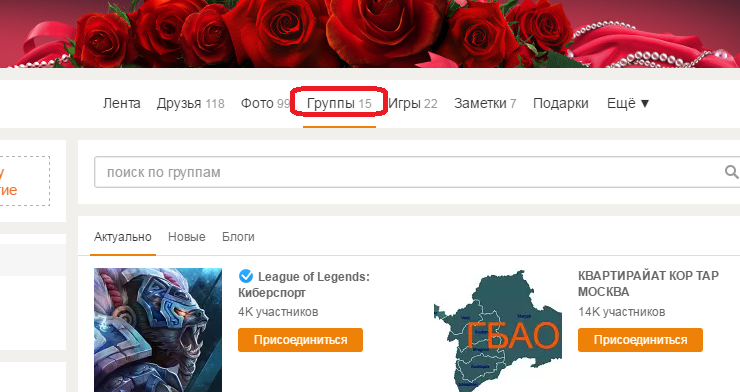
First of all, go to your page in Odnoklassniki or on any other page of a social network - the main thing is that you can see the menu, which is located in the central part of the page. In it, click on "Groups".
Here is a list of current or new groups. It looks something like this:
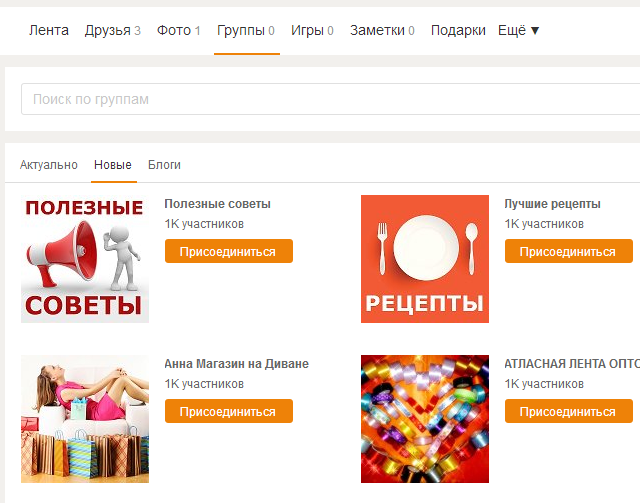
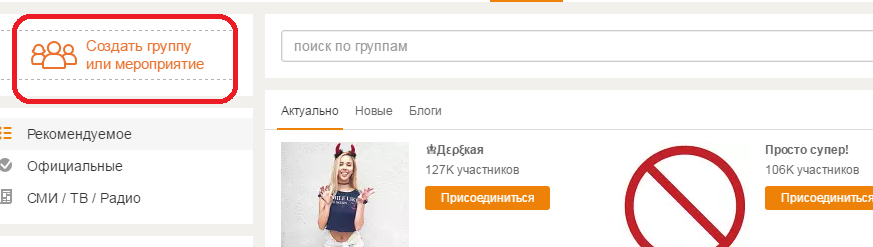
On the same page on the left there is a menu - groups by sections, and right above these sections there is a button “Create a group or an event”, which you need to click on.

- Public page
- Company or organization
- Enterprise, Institution, Place
- Famous person or team
- Interest group or for friends
- Event
- Bulletin board
- Score

This list is periodically expanded.
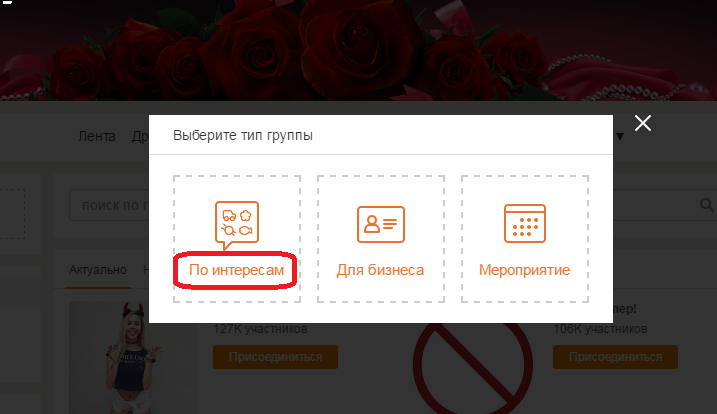
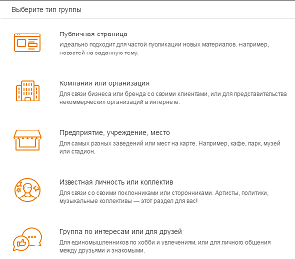
You need to select the type of group. Which one? Look according to circumstances. If the group is dedicated to interests, then choose "Interest Group or For Friends."
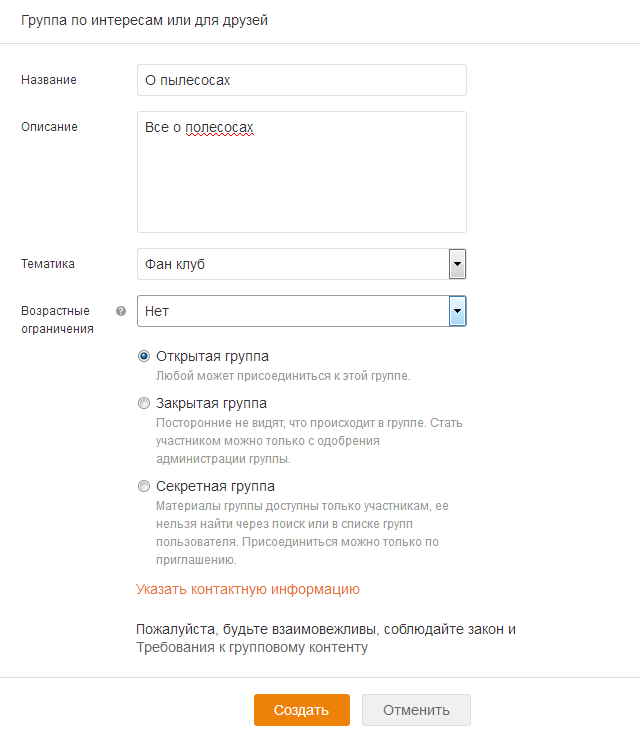
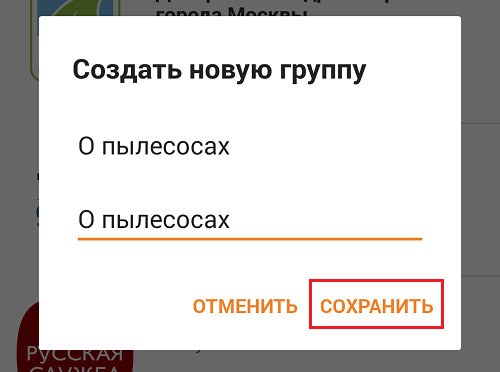
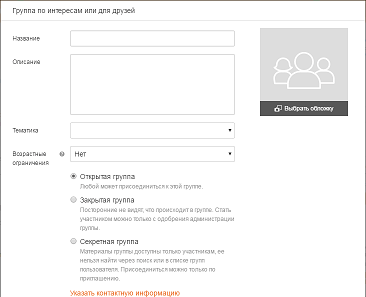
For our example, we chose this particular type of group. You must specify the name of the group, add a description, indicate the subject, age restrictions, contacts, if necessary, select a closed, open or secret type of group. When you have added all the data, click Create.
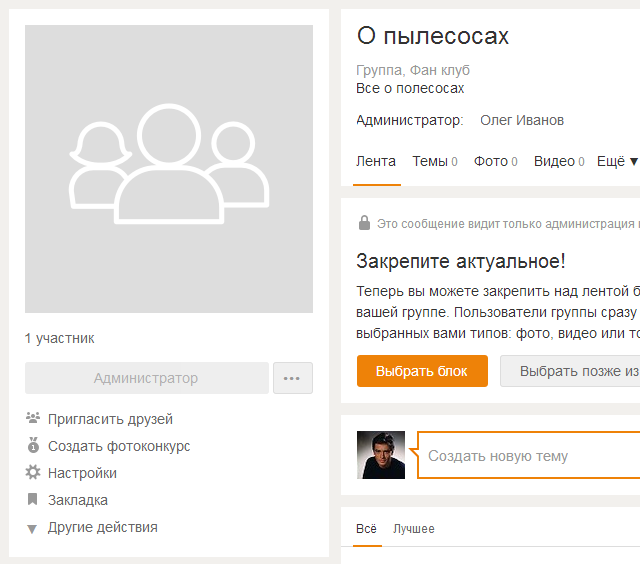
You did it!
Thus, you can create a group for your own site, for school, for games, for joint purchases, etc.
How to create a group in Odnoklassniki from the phone?
If you don’t have the opportunity to create a group on the desktop version of Odnoklassniki, use your phone, tablet or any other mobile device.
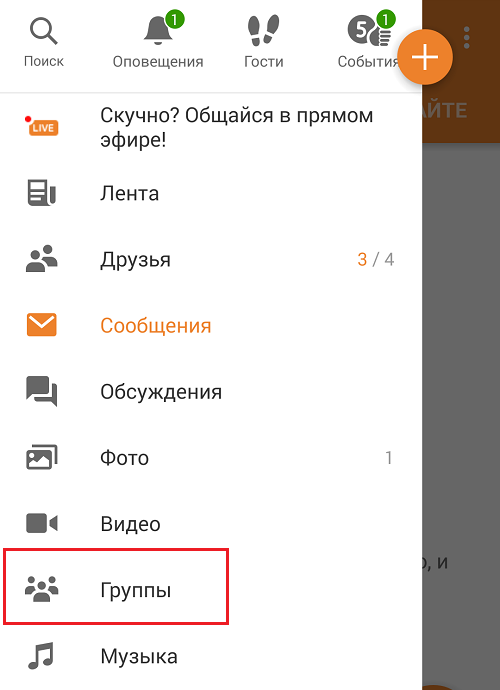
Run the brand mobile app Classmates, call the menu, in it click on the line "Groups".
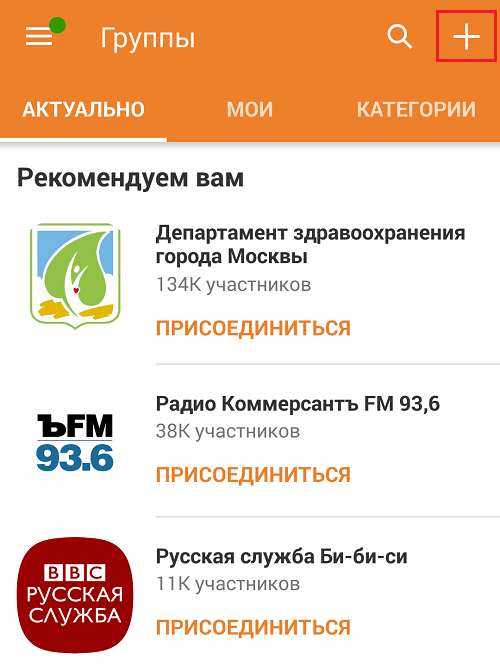
Before you is a list of relevant groups. See the plus sign in the upper right corner? Click on it.
Your group has just been created. As you can see, on the phone this process is even easier than on the computer.
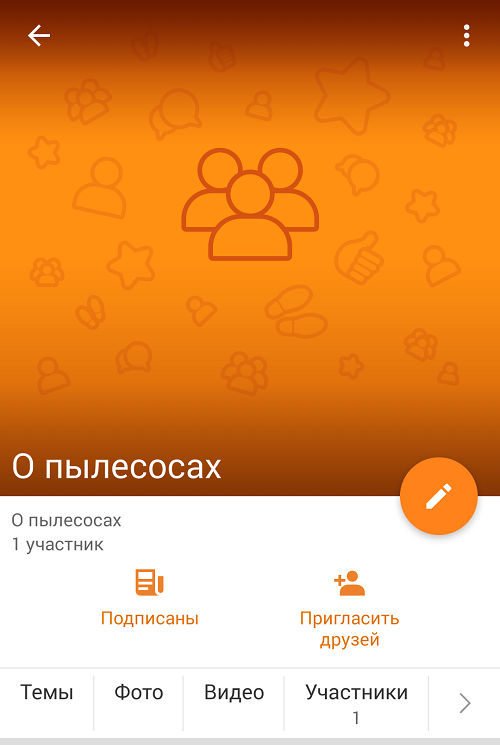
The settings are in the menu that appears if you click on the three dots in the upper part of the window. In the settings you can change or add the necessary information.
This article discusses questions about how to create and properly configure your group in the social network Odnoklassniki.ru
So you decided create your own group in the social network Odnoklassniki.ru The goals for creating a group in Odnoklassniki can be very different: public relations of their services, earnings on the group, self-affirmation, etc. In any case, the group you created should bring not only pleasure, but also profit, since everyone wants to eat.
Before, how to create a group, we need to determine its theme, that is, what it will be dedicated to. In classmates, you can create groups for business or interest groups. We recommend creating interest groups, as it will be a little easier to attract people into them.
What topic to create a group in Odnoklassniki
It's simple, you can create a group on any topic that does not violate the laws and internal rules of Odnoklassniki themselves. The main thing is that this topic be close to you and like. After you decide what topic to create a group, it is advisable to monitor Odnoklassniki for the presence of groups on your subject. So we can evaluate the competition in our topic in order to understand how difficult or easy it will be for us in the future to promote the group and bring new members to it. This is done easily: just go to the search by groups, enter the name of your topic and see which groups the search has given you. Go into these groups, at least in the first 25 pieces, evaluate the quality of the content published in them, and, most importantly, the number of participants in them. Group search in Odnoklassniki ranks groups by the number of participants. The more participants in a group, the higher it is in a search for a particular keyword phrase. For example, we decided to create a group on the theme “Promotion of groups and accounts on social networks!” Dedicated to our store
How to create a group in Odnoklassniki
We go into the search for groups and drive in the search query " Group promotion". Your search returned 120 groups relevant to our search query. In the very first place is a group in which (at the time of this writing) about 15,000 participants. That is, in order for our group to break into the TOP search in the future, we will have to recruit more than 15,000 participants in the group, and we will come first. Thus, we will be able to “catch” new people from the search, who themselves will find our group and join it. These will be the most valuable and active users of our group, as they themselves have found and entered it. Since the theme of our group is quite specific, it will be difficult at first to recruit even the first thousand participants, but we will talk about how to do this quickly and easily in the next article.
We proceed directly to the creation of our group. In order to create a group on Odnoklassniki, you need to go to the "Groups" menu. There you will find a search for groups, a directory of existing, most popular groups at the moment, as well as a list of groups in which you are a member. Near this list, the square Create Group button will be visible:
We click on this button and select the type of "Interests" group:
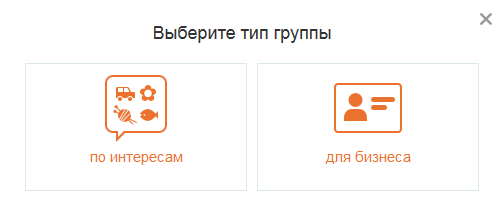
You can, of course, choose the type “For Business”, but without experience working with groups in Odnoklassniki, we would not advise doing this for now. After the type of group is selected, you can proceed to its settings:
![]()
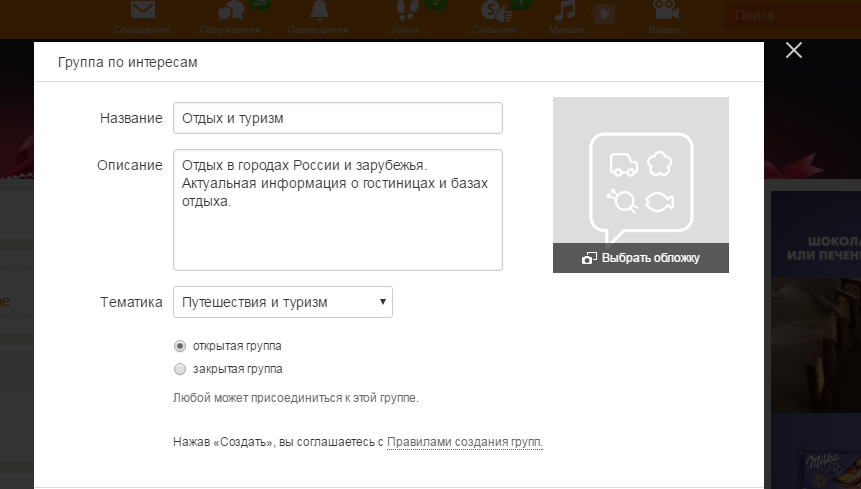
Fill in all the necessary fields for our future group: name, description, subject. Indicate privacy - open or closed group. Any user can join an open group. You can join a closed group only after approval by the group’s administration. The choice of this option depends on the theme of your group. After that, select the cover (avatar) of your group - this will highlight it among the rest. And click the "Create" button. Our group in Odnoklassniki is created, but that's not all ...
How to set up a group in Odnoklassniki
After clicking the “Create” button, we found ourselves inside our group. Now it needs to be adjusted a little more. To do this, in the group’s menu on the left, where its avatar is, click “Change settings”:

Here we see all the same settings that we entered earlier, but there are only some points that were not there before - these are the “city” and “keywords”. Here we will fill them:
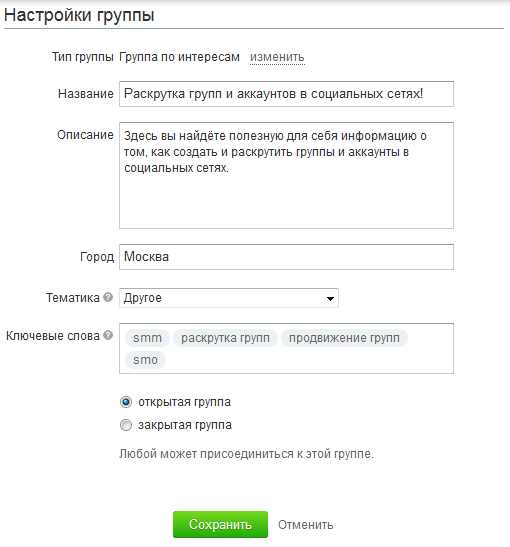
Here we indicated the city: Moscow, you can indicate the city whose audience you are interested in. Keywords should also be indicated on your topic. They will find you in the search, so go to the selection of keywords seriously. After that, click the “Save” button for our changes to take effect. But this is not all the settings. On the right you see "Publicity Settings":
Go to these settings and set the basic user rights in the group there:
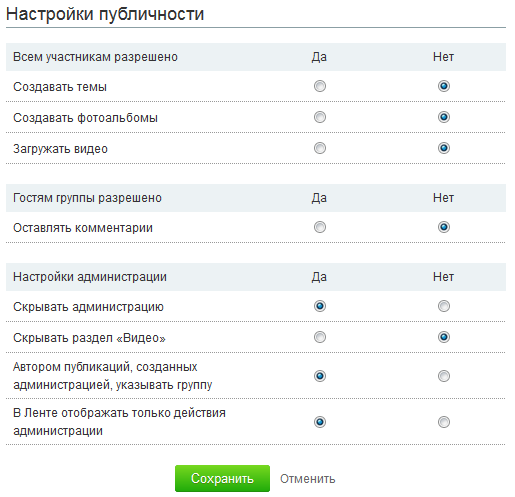
Here you also exhibit everything to your taste. The settings in this section depend on your plans for the group and on how you plan to develop the group. If you want users to be able to add content to the group too, then put “Yes” opposite the item “All participants are allowed to create topics”. The same goes for creating photo albums and videos. But then be prepared for a lot of spammy topics that you have to delete. If you want even guests to be able to add comments to posts, then put “Yes” opposite the item “Guests are allowed to leave comments”. If it is “No”, then before adding a comment, the user will be asked to join your group first - this increases the number of subscribers to the group. It’s better to hide the group’s administrator in the administration’s settings, since then hunting can begin on his account in order to take control of the group, although not a fact. All this is up to you. After making all the changes, click the "Save" button again.
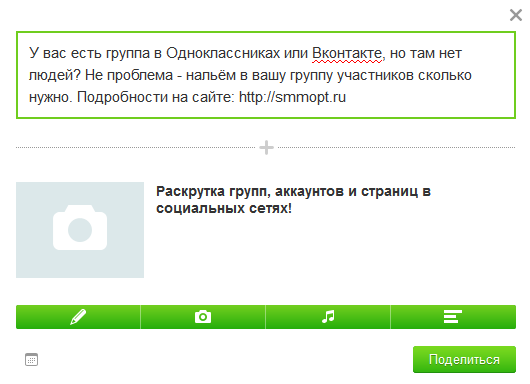
So, our group is set up, but before you start inviting people to it, you need to create at least a few entries so that users there are interested and have something to comment on. Create the first post in our new group. To do this, go to the "Themes" or "Basic" section - no difference:
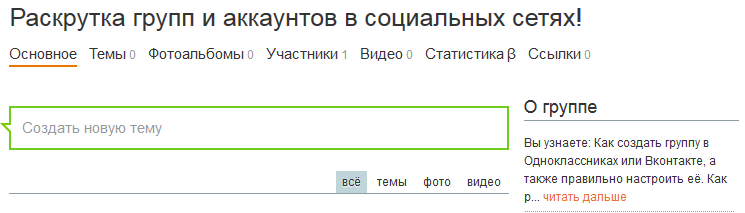
In the green rectangle we see the inscription "Create a new topic" and click there. A convenient editor opens, through which you can add posts to the group, for example, this post:
To get started, post at least 15-25 posts in the group, and then proceed to invite new members to your group. Remember, in an empty group, users do not enter! About, how to invite people to a group on Odnoklassniki, we will consider in the next article.
We wish you success and interesting posts in your groups on Odnoklassniki!
Greetings, my dear blog readers. Connected Galiulin Ruslan. Today we’ll talk about social networks and how to monetize them. Today, the presence of social groups. Networks gives an advantage when promoting your project and gaining new customers. Let's look at one of the nicknames.
"Classmates" - One of the largest Russian-language social networks. Millions of visitors browse this site daily. But not all of them know what opportunities he presents for making money and promoting a business. And only a few are owners of communities that generate income of three hundred thousand rubles a month. How many subscribers allow you to get a stable income? And which ways to make money are effective?
How to create a group in classmates from scratch yourself
To work at home, in comfortable conditions, and at the same time to earn income, which the average employee can only dream of, is real. The online community is not only an excellent platform for promoting goods or services, but also the opportunity to create a business without financial investments. True, it takes a lot of effort and time to promote such a community.
Before you start discussing this type of earnings, you should understand how to create a group in classmates from scratch. However, any site user will cope with this task.
1. Go to the site under your username.
2. In the menu, select the "My Groups" section.
3. This will open a list of communities subscribed to by the owner of the page. In the left corner follow the link.
4. Three kinds of communities exist in Odnoklassniki. Each of them has advantages and disadvantages. But the choice must be made based on the purpose for which the community is being created.
- by interest;
- for business;
- event.
"Interests" - a classic version of the group. It is more often chosen by those who seek to earn advertising revenue. “For business” - a type of community that can serve as an effective tool for promoting services and goods. “Event” is a kind of community designed to disseminate information about an upcoming event: a concert, seminar, meeting, and so on.
If the online community is created not for the sale of any product, but solely for the purpose of earning money from advertising, it is worth choosing "By interests".
5. A window will appear. Enter the name and description of the community in it. You also need to choose a theme.
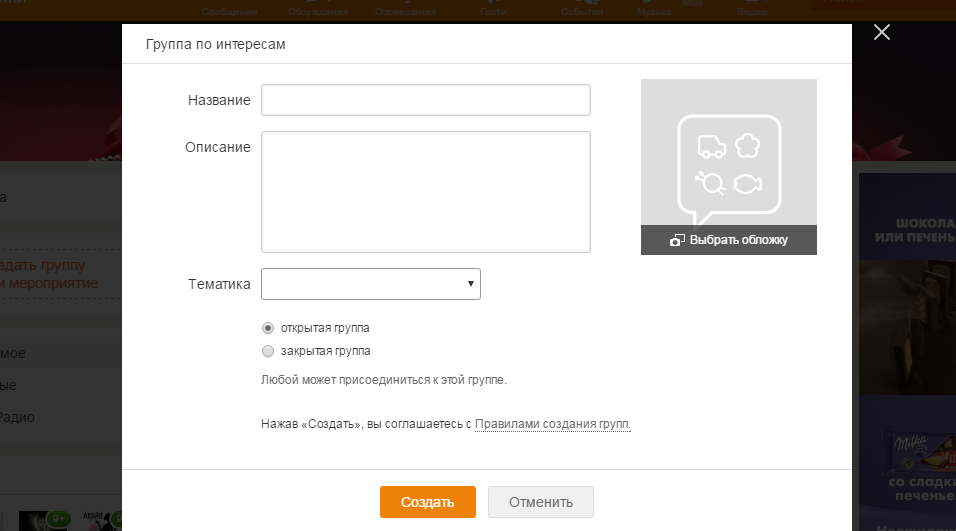
In marketing, there is a direction that deals with names. It is called "Naming." You can read several articles on this topic. But, in short, the name should be short, clear and contain keyword. That is, if group being created will be devoted to travel, then in the upper field there is the word "tourism".
Click "Create." Mission accomplished. It remains only to spend a few minutes on the design of the group. And also to figure out how to promote and make money on it.
Group promotion in OK
The answer to the question of how to create a group in classmates from scratch is received. But this is only a tiny step towards the goal, namely, to generate income. The page, first of all, needs to be properly designed. Before inviting participants, you must upload an avatar that matches the theme and create at least ten interesting posts.
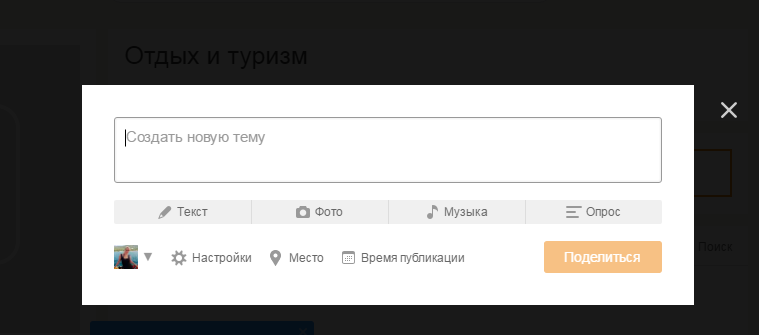
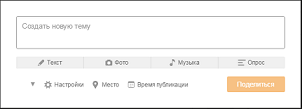
Create new topics preferably regularly. The photo above shows that in addition to text, a post can include images, music, and a survey. At the bottom, next to the “publication time” link, there is an icon that allows you to control the regularity of new topics. An ideal method of filling content is posting with an interval of one to two hours. Moreover, at least one of them contains a small survey and almost every one is supplemented with an audio recording.
Quality content is the key to success. The information should be interesting and unique. Of course, with the daily creation of new themes, being original is not easy. But it’s worth striving for it. Indeed, perhaps, every user of social networks, browsing the feed, meets from time to time already familiar, albeit somewhat modified posts. And from the community, which adds only hackneyed and uninteresting topics, I want to unsubscribe.
When creating a new post, you can also use the "settings" button. This feature allows you to restrict comments or make information available only to community members.
How to attract subscribers? This question is perhaps the most difficult. Even interesting and original content will not provide an influx a large number participants, if no one finds out about him. The first thing administrators start with is invitations to the community. However, you can only invite friends, and in order to start making money on advertising, you need to have at least 50 thousand subscribers. The community can be promoted for free, but it will take a tremendous amount of effort and time.
Community owners often buy members. There are special sites where you can “purchase” them. The approximate price of one subscriber is 1 rub. However, this method of promotion is not only too costly, but also ineffective. Because purchased members will never be active.
Such cooperation looks as follows:
- The administrator finds the site and contacts its owner.
- That, in turn, voices the amount and method of transferring money.
- The post of the advertised community is posted for 24 hours (of which hour it is in the first place).
Earnings in classmates on a group
A community administrator with several hundred thousand members does not have to look for advertisers. They usually get in touch themselves. Nevertheless, a few words should be said about what makes up earnings in classmates in the group.
There are many sites on the Internet that are a kind of intermediaries between advertisers and sites. In the photo below is a screenshot of one of them.
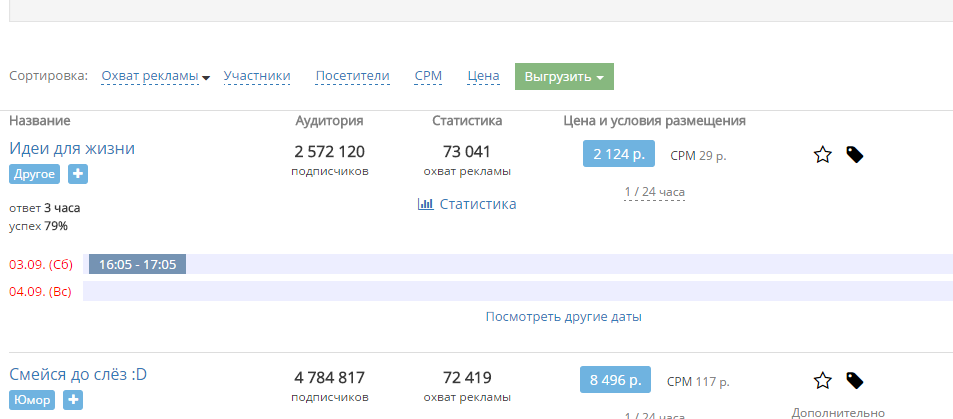
By posting community information on a similar site, you can not only position it as a platform for advertising, but also set up auto-posting. The table in the last screenshot gives an idea of \u200b\u200bhow much the community owner earns with several million subscribers. However, the price of accommodation varies. It depends on the topic and other indicators.
Other ways to earn money are affiliate programs. Information about them is also available on the Odnoklassniki website. I hope the material helped to understand the creation and earnings in this social network. We like and subscribe to the blog newsletter. Good to all.
Sincerely, Galiulin Ruslan.
Now, in many ways, the Internet has replaced communication. After all, there is no bad weather or distances that can interfere with communication. People find each other according to their interests. And in order to make it easier, groups are created. Also, with the help of the community, you can promote your business or make a business out of the community.
Having studied this publication, you can independently, from scratch and completely free create a group in Odnoklassniki and promote it.
Creating a group in Odnoklassniki from scratch
The question arises: how is a group created in classmates? Everything is elementary, you need a page on ok.ru, time and desire.
Step 1. In the menu there is a button “Groups”.
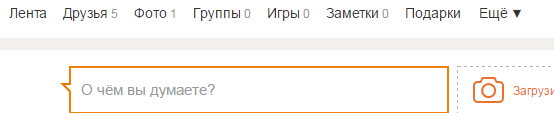
Click on it and immediately go to the next page:
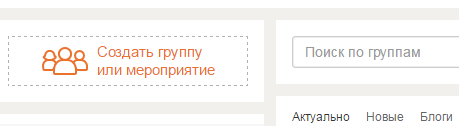
Here we are interested in "Create a group or event", click.
Step 2 A window with group types is displayed. It is necessary to decide for what purpose we are doing it, how we will use it. Choose the option you need.
An interest group or for friends is ideal for communicating with like-minded people and friends.
Step 3 Next, you need to select the name of the group, a description of what the group will be, subjects, design. It is important that appearance Your community has been attractive. If you have not decided on the topic right away or want to change contact details or anything else, the “settings” function will help.
If necessary, write another description, add something. Also, correct everything that does not suit you.
Step 4 To insert avatar, just move the cursor to the place where it is located - a pop-up window will appear.
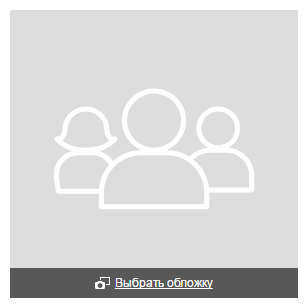
Click and select the picture that suits you.
Step 5 To make your group attractive and interesting, add photo and video.
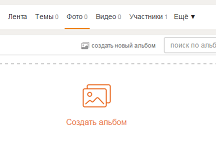
Choose Photo - create an album. Window is displayed
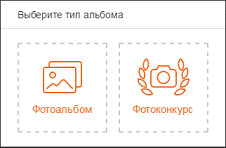
Photo album created. It remains to upload the photo there. Click on the inscription “Add photo” and find the desired picture.
How to create a theme?
Step 6 For create threads in the group, click on Themes and in the window that opens we write the text to be published.
But if you have material consisting of several photos - you create a photo album.


